Crafting Precision: A Guide to Dachshund 3D SVG Multilayer Laser Files
In the evolving landscape of digital fabrication, the transition from two-dimensional concepts to tangible, three-dimensional art requires more than just a capable machine; it demands precise, well-structured design assets. The Dachshund 3D SVG Multilayer Laser Files represent a sophisticated solution for creators looking to elevate their home decor and gifting projects. This specific design, featuring a charming dachshund motif integrated into a mandala-style composition, is not merely a graphic but a engineered blueprint for layered construction. Understanding how to effectively integrate these files into your workflow—whether you are using a desktop laser cutter, a CNC router, or a blade-based cutting machine—is essential for achieving professional-grade results.
Understanding the Design Architecture
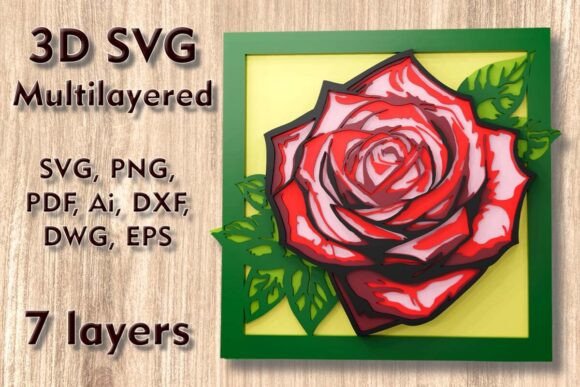
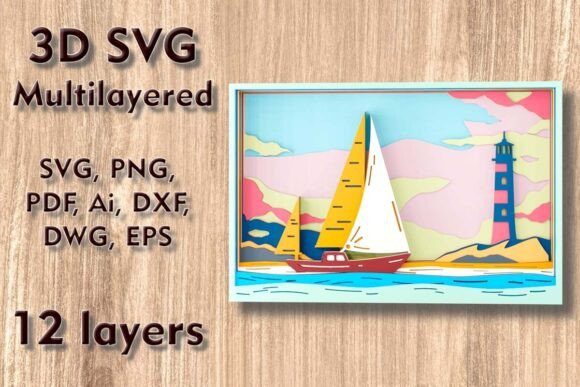
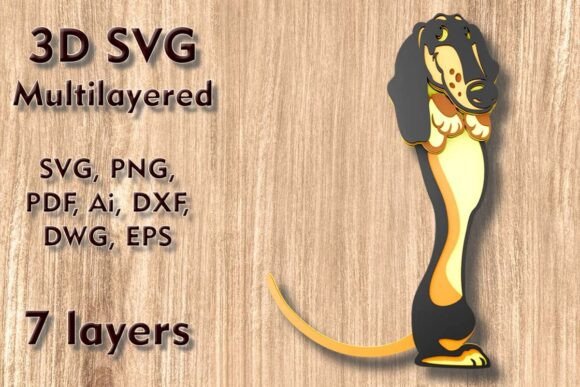
The core value of this asset lies in its structural complexity. The design consists of 7 separate layers, each meticulously spaced to create depth and shadow when assembled. This multilayered approach transforms a flat image into a dynamic piece of wall art. The base dimensions are set at 290 mm height by 188 mm width (approximately 11.4 x 7.4 inches). This size is ideal for standard frame inserts or standalone shelf decor, offering a substantial presence without overwhelming smaller spaces.
When working with multilayer SVGs, it is crucial to recognize that the file is not a single entity but a collection of interdependent parts. Each layer serves a specific function in the visual hierarchy. The bottom layers typically provide the foundational structure and background contrast, while the upper layers introduce detail and focal points. For the Dachshund Mandala SVG, this means the intricate patterns of the mandala must align perfectly with the silhouette of the dog to maintain visual coherence. Misalignment during the cutting or assembly phase can disrupt the intended aesthetic, making precision in both file handling and physical execution paramount.
Material Selection and Compatibility
Versatility is a significant advantage of this design. The files are compatible with a wide range of materials, including plywood, paper, cardstock, MDF, wood, acrylic, cardboard, and even aluminum. However, the choice of material directly influences the final outcome and the technical settings required for cutting.
- Plywood and MDF: These are the most common choices for durable wall art. They offer rigidity and a natural aesthetic that highlights the layered depth. When using wood, ensure the grain direction is consistent across layers to prevent warping over time.
- Paper and Cardstock: Ideal for greeting cards or lightweight decor. These materials allow for sharper details but require careful handling during assembly to avoid tearing.
- Acrylic: Provides a modern, sleek look. Acrylic layers can be translucent, allowing light to pass through and create unique shadow effects, though they require different laser settings to avoid melting edges.
- Aluminum: For industrial-style decor, thin aluminum sheets can be cut, though this requires specialized laser capabilities and safety precautions.
The compatibility with various machines—including Cricut, Silhouette, Glowforge, and CNC routers—means that users can leverage existing equipment without needing specialized hardware. However, each machine interprets vector data differently. Blade cutters like Cricut and Silhouette excel with paper and cardstock, while laser cutters and CNC machines are better suited for wood, acrylic, and MDF. Understanding these distinctions helps in selecting the right material-machine combination for your specific project goals.
File Formats and Workflow Integration
Upon purchase, users receive a ZIP folder containing multiple file formats: SVG, layered SVG, DXF, DWG, EPS, AI, PNG, and PDF. This diversity ensures seamless integration into various software ecosystems. For laser cutting software such as LightBurn, RDWorks, or Glowforge’s web interface, the DXF or SVG formats are typically preferred due to their clean vector paths. Adobe Illustrator and CorelDRAW users may prefer AI or EPS files for pre-processing adjustments, such as modifying colors to assign different cut depths or powers.
The inclusion of layered SVG files is particularly beneficial for users who wish to visualize the assembly process digitally before cutting. By toggling layers on and off in design software, creators can verify alignment and plan the stacking order. This pre-visualization step reduces errors and material waste, contributing to a more efficient workflow. Additionally, the PNG and PDF files serve as useful references for manual assembly guides or marketing materials if you plan to sell the finished product.
Scaling and Design Integrity
One of the critical considerations when using predefined multilayer designs is scaling. The default size of 290 x 188 mm is optimized for the thickness of standard materials (typically 3mm plywood or similar). While the design can be easily increased in size, reducing it requires caution. As the overall dimensions shrink, the thin elements within the mandala pattern and the dachshund silhouette may become too fragile to cut cleanly or may break during handling.
If you need to adjust the size, always check the minimum line width and gap spacing in your design software. A general rule of thumb is to maintain a minimum feature size that is at least equal to the thickness of the material being cut. For instance, if you are cutting 3mm plywood, ensure no detailed element is narrower than 3mm. This prevents burn-through in laser cutting and tear-out in blade cutting. If scaling down is necessary, consider simplifying the design by removing the finest details or switching to a thinner material like cardstock, which can accommodate finer cuts without structural failure.
Practical Assembly and Quality Control
The assembly process is where the digital design translates into physical art. To ensure a high-quality finish, follow a systematic approach:
- Preparation: Clean the material surface to remove dust or debris that could interfere with cutting accuracy. Secure the material firmly to the cutting bed to prevent shifting.
- Cutting: Perform test cuts on scrap material to determine optimal power and speed settings. This step is crucial for achieving clean edges without excessive charring or incomplete cuts.
- Sorting: Once cut, carefully remove each layer and label them according to their stack order. This prevents confusion during assembly, especially when dealing with seven similar-looking layers.
- Dry Fit: Before applying adhesive, stack the layers loosely to check alignment. Make any necessary adjustments to the fit, such as sanding rough edges or trimming minor imperfections.
- Assembly: Use a strong, clear-drying adhesive suitable for your chosen material. Apply glue sparingly to avoid seepage, which can mar the visible surfaces. Start from the bottom layer and work your way up, ensuring each layer is centered correctly.
- Finishing: Allow the adhesive to cure completely before handling. Optionally, apply a sealant or paint to enhance durability and visual appeal.
Quality control should be ongoing throughout this process. Inspect each layer for cut quality immediately after removal from the machine. Addressing issues early prevents compounding errors during assembly. For business owners or educators, documenting this process can serve as valuable training material or content for social media engagement, showcasing the craftsmanship involved.
Applications and Creative Expansion
The Dachshund 3D SVG Multilayer Laser Cutting Files are not limited to static wall decor. Their versatility allows for diverse applications. Consider creating interactive greeting cards where the layers pop up when opened, or designing gift boxes with the mandala pattern as a decorative lid. For educators, this project can serve as an excellent lesson in geometry, spatial reasoning, and digital fabrication, engaging students in a hands-on learning experience.
From a business perspective, these files offer a scalable product line. By experimenting with different materials and finishes, creators can cater to various market segments—from affordable paper crafts to premium wooden art pieces. The consistent quality of the SVG ensures that each iteration maintains the design’s integrity, supporting brand consistency and customer satisfaction.
In conclusion, integrating the Dachshund 3D SVG into your creative workflow offers a blend of artistic expression and technical precision. By understanding the design’s architecture, selecting appropriate materials, managing file formats effectively, and adhering to careful assembly practices, you can produce stunning, professional-quality results. Whether for personal enjoyment, educational purposes, or commercial venture, this multilayer design provides a robust foundation for innovative crafting.